
-
Cangzhou Yulong Steel Co., Ltd.
-
Phone:
+86 13303177267 -
Email:
admin@ylsteelfittings.com


- English
- Arabic
- Italian
- Spanish
- Portuguese
- German
- kazakh
- Persian
- Greek
- French
- Russian
- Polish
- Thai
- Indonesian
- Vietnamese
- Zulu
- Korean
- Uzbek
- Hindi
- Serbian
- Malay
- Ukrainian
- Gujarati
- Haitian Creole
- hausa
- hawaiian
- Hebrew
- Miao
- Hungarian
- Icelandic
- igbo
- irish
- Japanese
- Javanese
- Kannada
- Khmer
- Rwandese
- Afrikaans
- Albanian
- Amharic
- Armenian
- Azerbaijani
- Basque
- Belarusian
- Bengali
- Bosnian
- Bulgarian
- Catalan
- Cebuano
- China
- China (Taiwan)
- Corsican
- Croatian
- Czech
- Danish
- Esperanto
- Estonian
- Finnish
- Frisian
- Galician
- Georgian
- Kurdish
- Kyrgyz
- Lao
- Latin
- Latvian
- Lithuanian
- Luxembourgish
- Macedonian
- Malgashi
- Malayalam
- Maltese
- Maori
- Marathi
- Mongolian
- Myanmar
- Nepali
- Norwegian
- Norwegian
- Occitan
- Pashto
- Dutch
- Punjabi
- Romanian
- Samoan
- Scottish Gaelic
- Sesotho
- Shona
- Sindhi
- Sinhala
- Slovak
- Slovenian
- Somali
- Sundanese
- Swahili
- Swedish
- Tagalog
- Tajik
- Tamil
- Tatar
- Telugu
- Turkish
- Turkmen
- Urdu
- Uighur
- Welsh
- Bantu
- Yiddish
- Yoruba

Feb . 15, 2025 04:05 Back to list
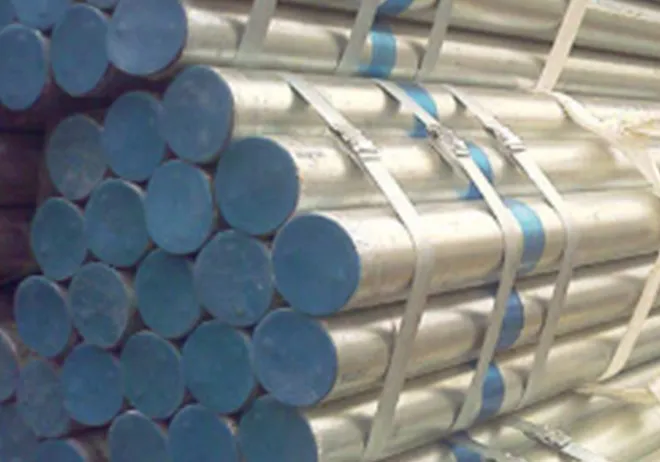
45 degree elbow pipe fitting
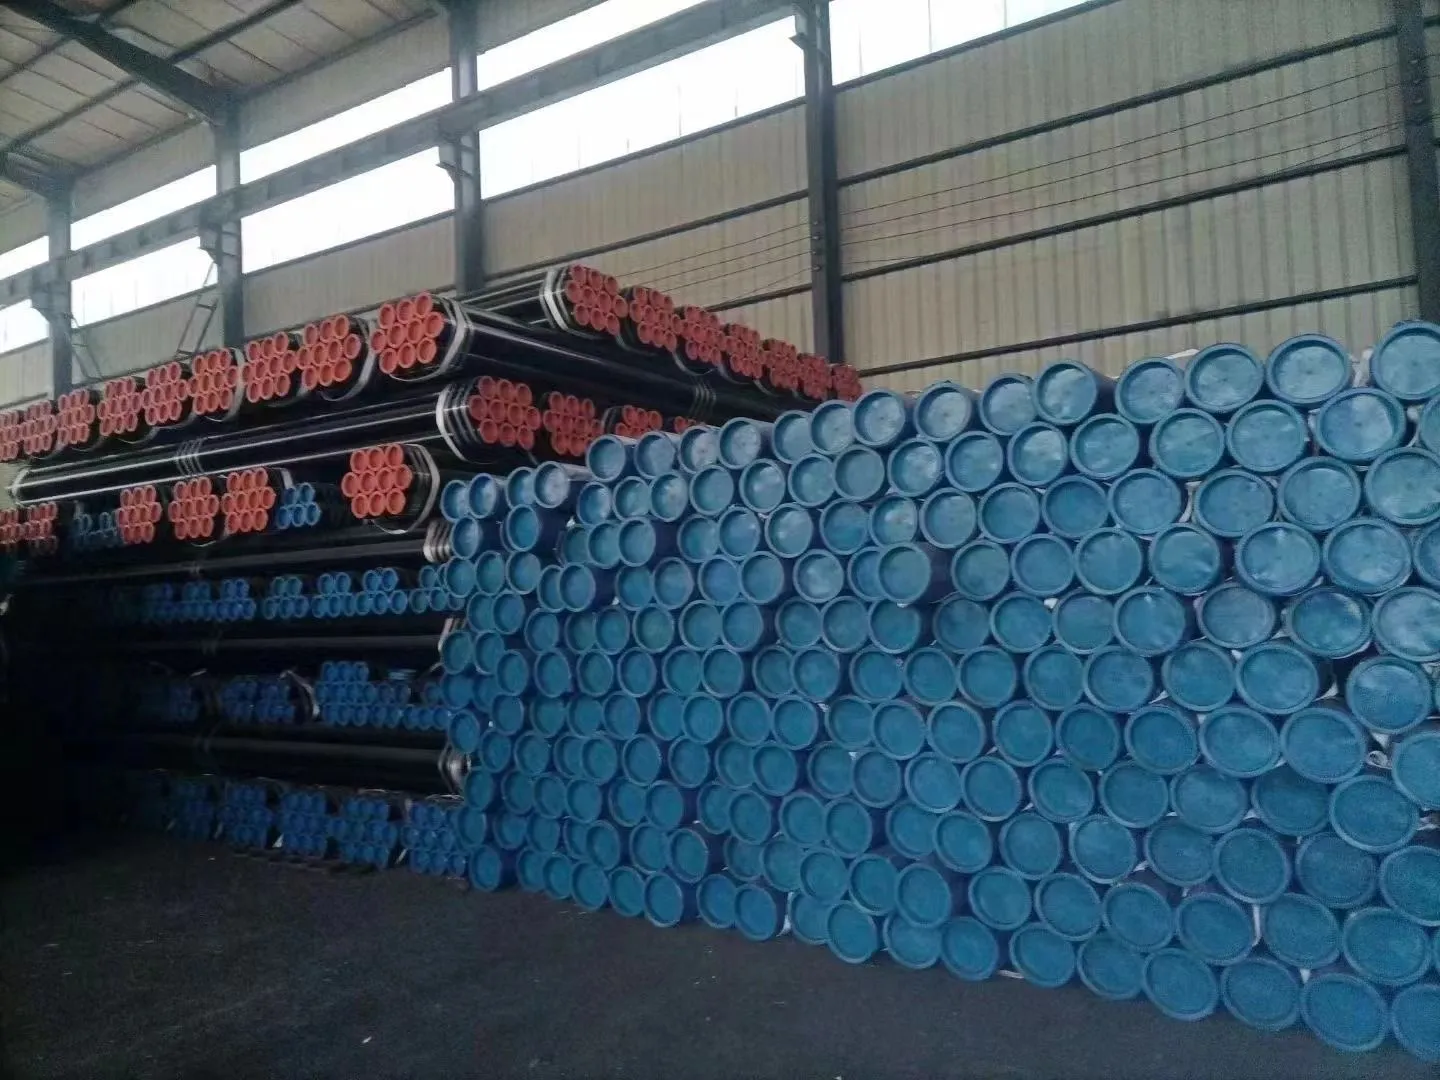
Fitting galvanized pipes is an essential task in various construction and plumbing projects, offering durability and strength where corrosion resistance is crucial. Whether you are an industry professional or a DIY enthusiast, understanding the nuances of galvanized pipe installation can save time, ensure safety, and improve longevity. This guide provides an in-depth look into the process, practical insights, and professional tips to achieve optimal results.
Apply a suitable pipe sealant or thread tape - usually PTFE tape - around the male threads to ensure airtight connections. Tighten the joints with a pipe wrench, but be careful to avoid over-tightening, which can compromise the pipe's integrity. Refer to manufacturer torque specifications to ensure accuracy. Pressure Testing After assembly, it's crucial to test the system's integrity. A pressure test will reveal any leaks or weak points in the fitting. Begin with a low-pressure test, gradually increasing to operational pressure. Consistent pressure and no visible drops indicate a successful installation. Common Mistakes One common error is failing to differentiate between galvanized pipes and regular iron pipes. Their appearances may be similar, but their compatibility is significant for corrosion prevention. Another is neglecting the integrity of the zinc coating during the threading process, which can lead to rapid deterioration if not appropriately addressed. Maintenance and Longevity Galvanized piping systems, though resistant to rust, require periodic inspections. Check for signs of corrosion, especially in areas where the coating may have been damaged. Regular maintenance involves checking all fittings and joints to ensure they remain tight and free from leaks. Conclusion The art of fitting galvanized pipes combines foundational knowledge with the precision of good craftsmanship. By following these guidelines, you'll enhance not only the effectiveness but also the lifespan of your piping systems. Remember, as straightforward as it may seem, the nuances and attention to detail in fitting galvanized pipes make the difference between a secure and secure system. By prioritizing quality materials and practices, you're investing in the reliability and safety of your infrastructure.
Apply a suitable pipe sealant or thread tape - usually PTFE tape - around the male threads to ensure airtight connections. Tighten the joints with a pipe wrench, but be careful to avoid over-tightening, which can compromise the pipe's integrity. Refer to manufacturer torque specifications to ensure accuracy. Pressure Testing After assembly, it's crucial to test the system's integrity. A pressure test will reveal any leaks or weak points in the fitting. Begin with a low-pressure test, gradually increasing to operational pressure. Consistent pressure and no visible drops indicate a successful installation. Common Mistakes One common error is failing to differentiate between galvanized pipes and regular iron pipes. Their appearances may be similar, but their compatibility is significant for corrosion prevention. Another is neglecting the integrity of the zinc coating during the threading process, which can lead to rapid deterioration if not appropriately addressed. Maintenance and Longevity Galvanized piping systems, though resistant to rust, require periodic inspections. Check for signs of corrosion, especially in areas where the coating may have been damaged. Regular maintenance involves checking all fittings and joints to ensure they remain tight and free from leaks. Conclusion The art of fitting galvanized pipes combines foundational knowledge with the precision of good craftsmanship. By following these guidelines, you'll enhance not only the effectiveness but also the lifespan of your piping systems. Remember, as straightforward as it may seem, the nuances and attention to detail in fitting galvanized pipes make the difference between a secure and secure system. By prioritizing quality materials and practices, you're investing in the reliability and safety of your infrastructure.
Latest news
-
ANSI 150P SS304 SO FLANGE
NewsFeb.14,2025
-
ASTM A333GR6 STEEL PIPE
NewsJan.20,2025
-
ANSI B16.5 WELDING NECK FLANGE
NewsJan.15,2026
-
ANSI B16.5 SLIP-ON FLANGE
NewsApr.19,2024
-
SABS 1123 FLANGE
NewsJan.15,2025
-
DIN86044 PLATE FLANGE
NewsApr.19,2024
-
DIN2527 BLIND FLANGE
NewsApr.12,2024
-
JIS B2311 Butt-Welding Fittings LR/SR 45°/90° /180°Seamless/Weld
NewsApr.23,2024


