-
Cangzhou Yulong Steel Co., Ltd.
-
Phone:
+86 13303177267 -
Email:
admin@ylsteelfittings.com
- English
- Arabic
- Italian
- Spanish
- Portuguese
- German
- kazakh
- Persian
- Greek
- French
- Russian
- Polish
- Thai
- Indonesian
- Vietnamese
- Zulu
- Korean
- Uzbek
- Hindi
- Serbian
- Malay
- Ukrainian
- Gujarati
- Haitian Creole
- hausa
- hawaiian
- Hebrew
- Miao
- Hungarian
- Icelandic
- igbo
- irish
- Japanese
- Javanese
- Kannada
- Khmer
- Rwandese
- Afrikaans
- Albanian
- Amharic
- Armenian
- Azerbaijani
- Basque
- Belarusian
- Bengali
- Bosnian
- Bulgarian
- Catalan
- Cebuano
- China
- China (Taiwan)
- Corsican
- Croatian
- Czech
- Danish
- Esperanto
- Estonian
- Finnish
- Frisian
- Galician
- Georgian
- Kurdish
- Kyrgyz
- Lao
- Latin
- Latvian
- Lithuanian
- Luxembourgish
- Macedonian
- Malgashi
- Malayalam
- Maltese
- Maori
- Marathi
- Mongolian
- Myanmar
- Nepali
- Norwegian
- Norwegian
- Occitan
- Pashto
- Dutch
- Punjabi
- Romanian
- Samoan
- Scottish Gaelic
- Sesotho
- Shona
- Sindhi
- Sinhala
- Slovak
- Slovenian
- Somali
- Sundanese
- Swahili
- Swedish
- Tagalog
- Tajik
- Tamil
- Tatar
- Telugu
- Turkish
- Turkmen
- Urdu
- Uighur
- Welsh
- Bantu
- Yiddish
- Yoruba

نويابىر . 01, 2024 04:45 Back to list
Repairing and Maintaining Galvanized Pipes for Optimal Performance and Longevity
Repairing Galvanized Pipe A Comprehensive Guide
Galvanized pipes, known for their durability and resistance to corrosion, have been a popular choice in plumbing systems for many decades. However, over time, they can suffer from wear and tear, leading to leaks, rust, and decreased water flow. Repairing galvanized pipes is a task that can seem daunting but is often manageable with the right tools and knowledge. This article will provide a detailed guide on how to effectively repair galvanized pipes, enhancing your plumbing system's longevity and functionality.
Identifying the Problem
The first step in any repair job is identifying the issue. Signs of a problem with galvanized pipes can include
1. Leaks Water pooling around the joints or running down the pipe. 2. Rust Visible rust on the exterior of the pipe may indicate internal corrosion. 3. Reduced Water Pressure Blockages or corrosion can affect water flow. 4. Discolored Water If your water has a brownish tint, it may be oxidized iron from corroded pipes.
Once you've identified the problem, gather the necessary tools, which may include
- Pipe wrenches - Plumber's tape - Replacement fittings or pipe sections - A hacksaw or pipe cutter - A wire brush or sandpaper - Soldering equipment for copper fittings (if applicable)
Steps to Repairing Galvanized Pipe
1. Turn Off the Water Supply Before beginning any repairs, ensure that you turn off the water supply to prevent further leaks or flooding.
2. Drain the Pipes Open the faucets connected to the affected pipes to drain out any residual water.
3. Locate the Damaged Section Inspect the pipe to find the exact location of the leak or damage. Mark this section for easier identification during repairs.
repairing galvanized pipe

4. Cut Out the Damaged Section Using a hacksaw or pipe cutter, carefully cut out the damaged section of the pipe. Be cautious not to damage adjacent pipes.
5. Clean the Pipe Ends Use a wire brush or sandpaper to clean the exposed ends of the existing pipe. This step is crucial as it allows better adhesion for fittings.
6. Install Replacement Section Measure and cut the new piece of galvanized pipe to fit. Attach the new section using appropriate fittings, ensuring a tight and secure fit.
7. Seal the Joints Wrap plumber's tape around the threaded ends before screwing them together. This helps create a watertight seal.
8. Test for Leaks Once everything is connected, turn the water supply back on and check for leaks. Monitor the repaired area closely for any signs of moisture.
Preventive Maintenance
To extend the lifespan of your galvanized pipes and minimize future repairs, consider the following preventive measures
- Regular Inspections Routinely check for signs of rust or leaks. - Water Quality Ensure your water is not overly acidic, as this can accelerate corrosion. - Insulation Insulate your pipes to prevent temperatures from causing frost damage in colder months.
Conclusion
Repairing galvanized pipes is a task that can save you from costly replacements and maintain the integrity of your plumbing system. With careful inspection, proper tools, and a methodical approach, you can address common issues effectively. By staying vigilant and performing regular maintenance, you can ensure that your galvanized pipes continue to serve you well for many years to come. Whether you’re a DIY enthusiast or a homeowner looking to tackle plumbing issues, understanding how to repair galvanized pipes is an invaluable skill in maintaining a functional and efficient home.
Latest news
-
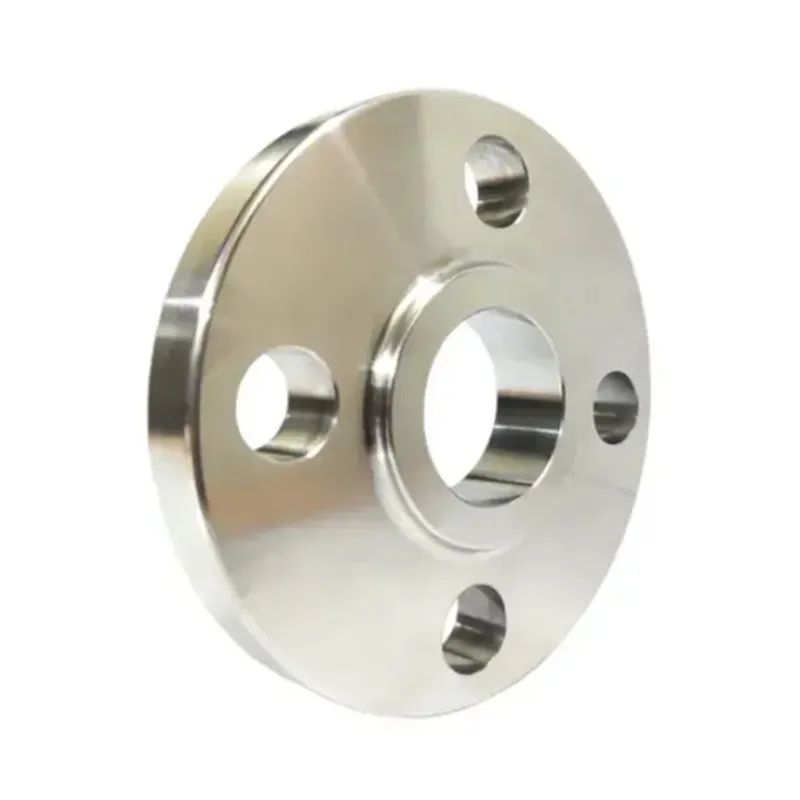
ANSI 150P SS304 SO FLANGE
NewsFeb.14,2025
-
ASTM A333GR6 STEEL PIPE
NewsJan.20,2025
-
ANSI B16.5 WELDING NECK FLANGE
NewsJan.15,2026
-
ANSI B16.5 SLIP-ON FLANGE
NewsApr.19,2024
-
SABS 1123 FLANGE
NewsJan.15,2025
-
DIN86044 PLATE FLANGE
NewsApr.19,2024
-
DIN2527 BLIND FLANGE
NewsApr.12,2024
-
JIS B2311 Butt-Welding Fittings LR/SR 45°/90° /180°Seamless/Weld
NewsApr.23,2024


