
-
Cangzhou Yulong Steel Co., Ltd.
-
Phone:
+86 13303177267 -
Email:
admin@ylsteelfittings.com


- English
- Arabic
- Italian
- Spanish
- Portuguese
- German
- kazakh
- Persian
- Greek
- French
- Russian
- Polish
- Thai
- Indonesian
- Vietnamese
- Zulu
- Korean
- Uzbek
- Hindi
- Serbian
- Malay
- Ukrainian
- Gujarati
- Haitian Creole
- hausa
- hawaiian
- Hebrew
- Miao
- Hungarian
- Icelandic
- igbo
- irish
- Japanese
- Javanese
- Kannada
- Khmer
- Rwandese
- Afrikaans
- Albanian
- Amharic
- Armenian
- Azerbaijani
- Basque
- Belarusian
- Bengali
- Bosnian
- Bulgarian
- Catalan
- Cebuano
- China
- China (Taiwan)
- Corsican
- Croatian
- Czech
- Danish
- Esperanto
- Estonian
- Finnish
- Frisian
- Galician
- Georgian
- Kurdish
- Kyrgyz
- Lao
- Latin
- Latvian
- Lithuanian
- Luxembourgish
- Macedonian
- Malgashi
- Malayalam
- Maltese
- Maori
- Marathi
- Mongolian
- Myanmar
- Nepali
- Norwegian
- Norwegian
- Occitan
- Pashto
- Dutch
- Punjabi
- Romanian
- Samoan
- Scottish Gaelic
- Sesotho
- Shona
- Sindhi
- Sinhala
- Slovak
- Slovenian
- Somali
- Sundanese
- Swahili
- Swedish
- Tagalog
- Tajik
- Tamil
- Tatar
- Telugu
- Turkish
- Turkmen
- Urdu
- Uighur
- Welsh
- Bantu
- Yiddish
- Yoruba

நவ் . 20, 2024 21:14 Back to list
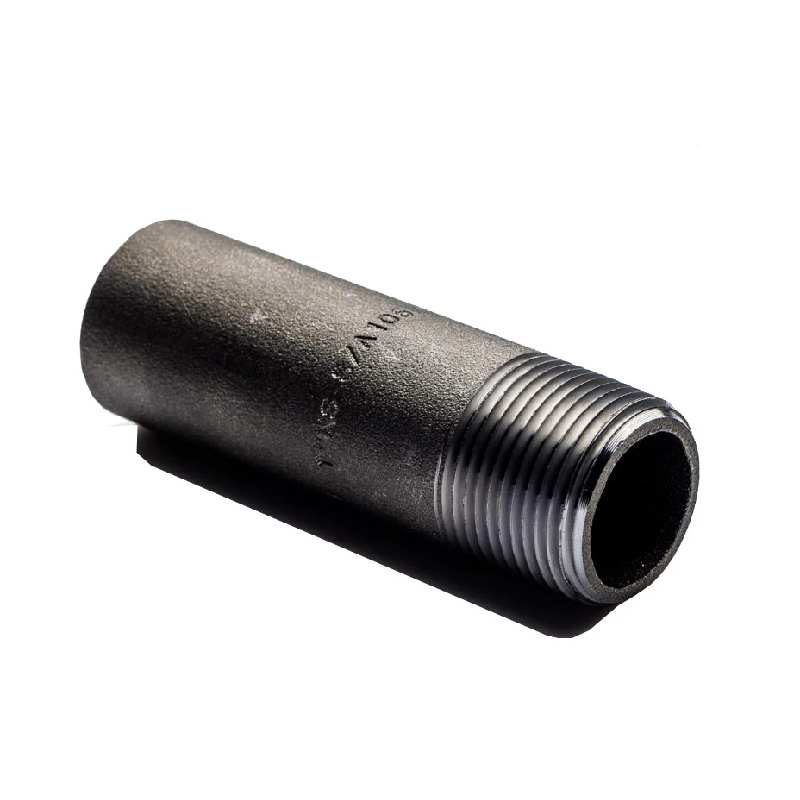
how to cap copper pipe without solder
How to Cap Copper Pipe Without Solder A Step-by-Step Guide
Capping a copper pipe without the need for soldering is a useful skill that can save you time and hassle, especially in a home plumbing project where a quick fix is necessary. Whether you’re dealing with a leaky pipe or simply want to cap off an unused line, there are effective ways to achieve this. In this article, we will guide you through the process of capping a copper pipe without solder, using push-to-connect fittings or compression fittings.
Materials Needed
Before you start, gather the following materials
1. Copper Pipe Ensure you have the correctly sized pipe that requires capping. 2. Push-to-Connect Cap or Compression Cap Choose the appropriate type based on your preference and availability. 3. Pipe Cutter To cut the pipe to the desired length. 4. Deburring Tool or File To smooth any rough edges after cutting. 5. Measuring Tape To measure the length of the pipe accurately. 6. Marker To mark your cutting line. 7. Pencil or Permanent Marker For marking the lengths.
Step-by-Step Process
Step 1 Measure and Mark
Begin by measuring the section of the copper pipe you wish to cap. Use a measuring tape to determine the distance from the end of the pipe to where you want to place the cap. Mark this measurement clearly with a pencil or permanent marker.
Step 2 Cut the Pipe
Using a pipe cutter, carefully cut the copper pipe at the marked location. Make sure the cut is straight and clean to ensure a proper fit for the cap. Take your time during this step, as a rough cut can lead to leaks in the future.
Step 3 Deburr the Pipe
how to cap copper pipe without solder
After cutting, it’s crucial to deburr the edges of the pipe. Use a deburring tool or a file to remove any sharp edges or burrs left from the cutting process. This step will prevent damage to the fitting and help ensure a watertight seal.
Step 4 Choose Your Fitting
Decide whether you will be using a push-to-connect cap or a compression cap.
- Push-to-Connect Fitting These fittings are designed for ease of use. Simply push the fitting onto the clean, cut end of the copper pipe until you hear a click. Make sure it is fully seated.
- Compression Fitting If you opt for a compression cap, slide on the compression nut followed by the washer onto the pipe. Then, place the compression cap onto the pipe end, ensuring it’s aligned. Finally, tighten the compression nut by hand until it is secure. Further tightening can be done with a wrench, but be careful not to overtighten, as this may damage the fitting.
Step 5 Check for Leaks
Once you have capped the pipe, it's essential to check for any leaks before closing up the area. Turn on the water supply slowly and observe the area around your new cap. If you see any water leaking, you may need to tighten your compression fittings or ensure that the push-to-connect fitting is securely in place.
Step 6 Finalize the Installation
Once you are confident that the cap is leak-free, you can neatly finish the surrounding area. If the cap is exposed, consider painting it or covering it with a cap that matches your existing fixtures to maintain a uniform look.
Conclusion
Capping a copper pipe without soldering is straightforward and can be completed with minimal tools and effort. By following the steps outlined above, you can effectively cap your plumbing lines, whether for repairs or renovations. This method not only simplifies your plumbing tasks but also minimizes the need for specialized skills or materials. Next time you have a plumbing issue, rest assured that you can tackle it with confidence and skill! Always remember to ensure that your fittings are secure and check for leaks to avoid future headaches. Happy plumbing!
Latest news
-
ANSI 150P SS304 SO FLANGE
NewsFeb.14,2025
-
ASTM A333GR6 STEEL PIPE
NewsJan.20,2025
-
ANSI B16.5 WELDING NECK FLANGE
NewsJan.15,2026
-
ANSI B16.5 SLIP-ON FLANGE
NewsApr.19,2024
-
SABS 1123 FLANGE
NewsJan.15,2025
-
DIN86044 PLATE FLANGE
NewsApr.19,2024
-
DIN2527 BLIND FLANGE
NewsApr.12,2024
-
JIS B2311 Butt-Welding Fittings LR/SR 45°/90° /180°Seamless/Weld
NewsApr.23,2024


